REVIEW · WELLINGTON
From Wellington: Remutaka Rail Trail eBike Tour
Book on GetYourGuide →Operated by Wildfinder · Bookable on GetYourGuide
Tunnel headlights set the tone. This Remutaka Rail Trail eBike tour turns Wellington’s rail-railway engineering story into an easy 28km ride through tunnels, bush, and mountain viewpoints, all on an eBike. You start with a shuttle up to Kaitoke, then ride mostly at your own pace with a detailed start briefing.
I love the moment you’re told to switch on your headlights and roll into the old railway tunnels. I also really like the two-part wow factor: the sweeping views as you cross the swing bridge, then the calm stop-and-read sections along the way where you learn what it took to build the old fell railway system.
One possible drawback: the final stretch includes a narrow single-lane section that can feel tight if you’re new to bikes (or if you’re riding with lots of nerves). You’ll get warning ahead of time, but it’s still something to take slow and controlled.
In This Review
- Key Highlights You’ll Actually Notice
- Why the Remutaka Rail Trail eBike Ride Feels Special
- Getting There From Wellington: Kaitoke Start, Featherston Finish
- On the Bikes: Setup, Headlights, and the Self-Guided Feel
- The Ride Start at Kaitoke: Native Bush, Rail Trail Notes, and Easy Climbing
- Tunnels and Bridges: Where the Scenic Thrill Really Hits
- Summit Time: The Grassy Plateau Picnic Stop
- The Descent to Cross Creek: Fun, Controlled, and Scenic Farmland
- The Narrow 2km Single-Lane Track: The Part to Ride Carefully
- The Featherston Finish: 10km North Through Wairarapa Farms
- Price and Value: Why $131 Makes Sense Here
- What Weather Can Change (And What You Can Do)
- Who This Tour Suits Best (And Who Should Skip It)
- Should You Book the Remutaka Rail Trail eBike Tour?
Key Highlights You’ll Actually Notice
- Headlights for railway tunnels so you can see what’s in front of you, not just guess
- Swing bridge mountain views that make the steeper feeling parts worth it
- Information boards that explain the fell railway’s scale without turning it into a lecture
- Summit grassy plateau picnic with a real break, not just a quick stop
- Farm-country ride into Featherston after the engineering and tunnels are behind you
- Safety support in the plan, including a repair kit, first aid kit, and GPS tracker for peace of mind
Why the Remutaka Rail Trail eBike Ride Feels Special
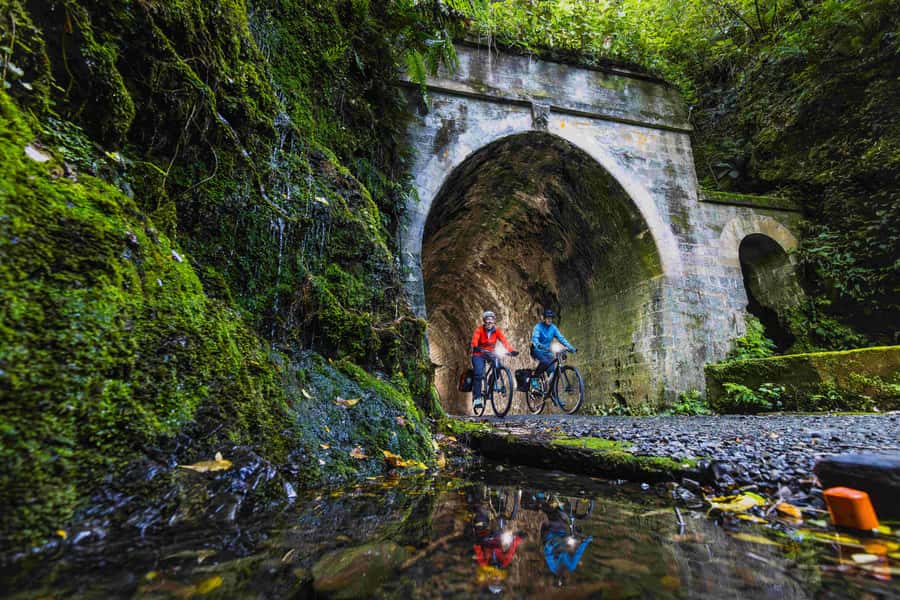
The Remutaka Rail Trail isn’t a random “pretty path.” It’s a converted railway route that carries big engineering effort through the Remutaka Ranges, and the ride format makes that story easy to understand as you move. You’re cycling through tunnels and across bridges, so the geography is part of the plot.
On an eBike, that matters. You still get a 28km workout, but it’s the kind where you can manage effort and spend energy on enjoying what you’re seeing. The tour is designed for all levels with reasonable fitness, which is exactly what you want if you’re not trying to suffer for the view.
And yes, it includes the kind of details that turn into memories fast: the tunnel headlights, the swing bridge crossing, and the summit picnic spot where the pace naturally slows down.
You can also read our reviews of more tours and experiences in Wellington.
Getting There From Wellington: Kaitoke Start, Featherston Finish
Your day starts in Wellington and then gets out into the hills with a shuttle. You can choose a pickup at either Wellington Station (main entrance at 9:30am) or Wellington Port (9:15am for cruise ship guests only). The shuttle ride to Kaitoke takes about 40 minutes, and the tour arrives to start around 10:15am.
This timing is smart. You’re not stuck rushing across town, and you reach Kaitoke before your legs fully realize what’s ahead. From there, the ride is planned as a gradual incline through native bush at the start, which helps you settle into the eBike rhythm before the tunnel-and-bridge sections start stacking up.
At the end, you’re not left stranded. After you reach Featherston and have time around the town area, the pickup is at 2:15pm. The van brings you back to Wellington Station (around 3:30–3:45pm) or to Wellington Port (around 3:45–4:00pm for cruise ship guests). That gives you an afternoon plan in the city rather than a long, self-managed return.
On the Bikes: Setup, Headlights, and the Self-Guided Feel
You’ll get a capable, comfortable eBike fitted to your height and preferences, plus a helmet and a repair kit. The bike setup is more than a formality. It’s one of the biggest reasons this tour feels approachable if you’re not a confident rider.
The ride is basically self-guided. You get maps and information, and you ride at your own pace after the briefing. That means you can stop when you want—especially at the information boards—without being stuck on someone else’s schedule.
One key “only on this tour” detail: tunnels. You’re provided with headlights, and you’re told to turn them on before the tunnel sections. It’s a small instruction, but it changes the whole experience. Instead of worrying about visibility, you can focus on the moment: dark tunnel air, the sound of wheels, and then the sudden return to daylight.
Safety gear is built into the plan too: there’s a first aid kit and a GPS tracker in case of emergency. If you’re the type who likes to know help is there, that’s reassuring.
The Ride Start at Kaitoke: Native Bush, Rail Trail Notes, and Easy Climbing
Kaitoke is your launch point in Upper Hutt, and the early part is designed to warm you up. Expect a very gradual incline through native bush, which is ideal for easing into the eBike and getting comfortable with braking, cornering, and tunnel prep.
As you ride, you’ll also encounter information boards that explain the old fell railway system and the sheer job of constructing it. The boards make the history feel practical. Instead of imagining how something worked from a distance, you’re literally riding along the same corridor the railway used.
One quiet benefit here: because the start is gentle, you can read and ride. On faster tours, you’d be skipping boards because you’d be too busy powering through. Here, the pace gives your brain time to catch up.
Tunnels and Bridges: Where the Scenic Thrill Really Hits
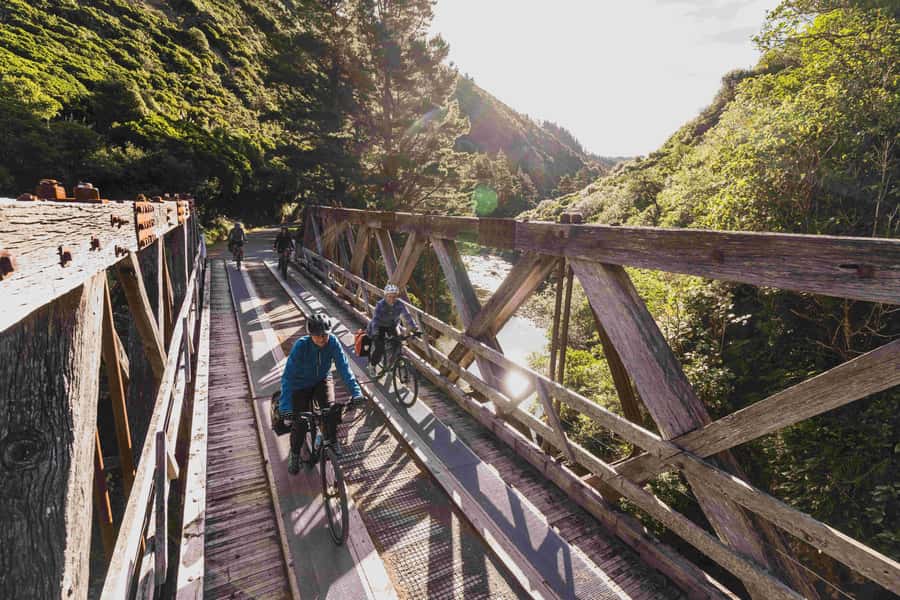
Then the character changes from “pleasant trail” to “this is an adventure.” You pass through railway tunnels, where the provided headlights matter most. Rolling into that darkness is a memorable switch, and it’s also a good test of how comfortable you are with controlled riding. Keep steady power, use your brakes smoothly, and you’ll be fine.
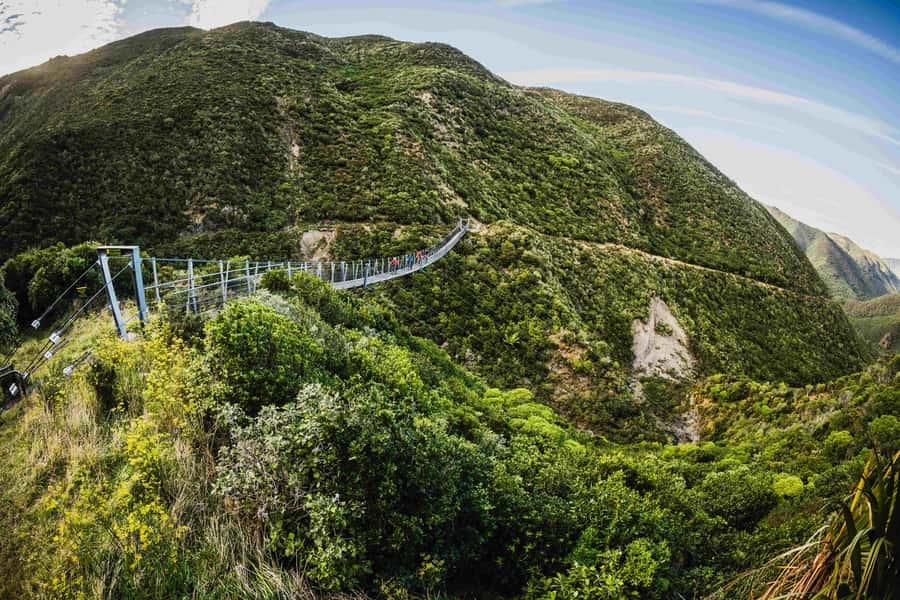
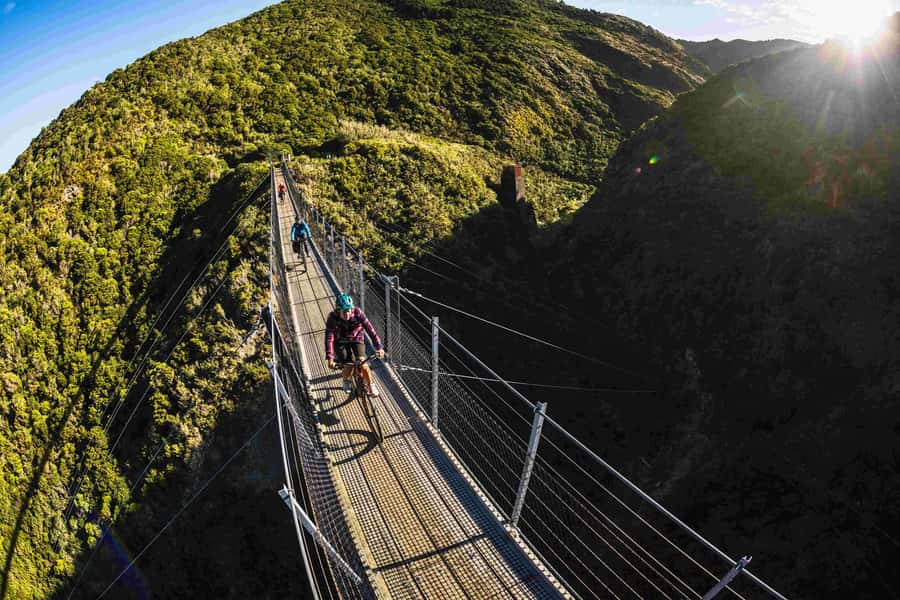
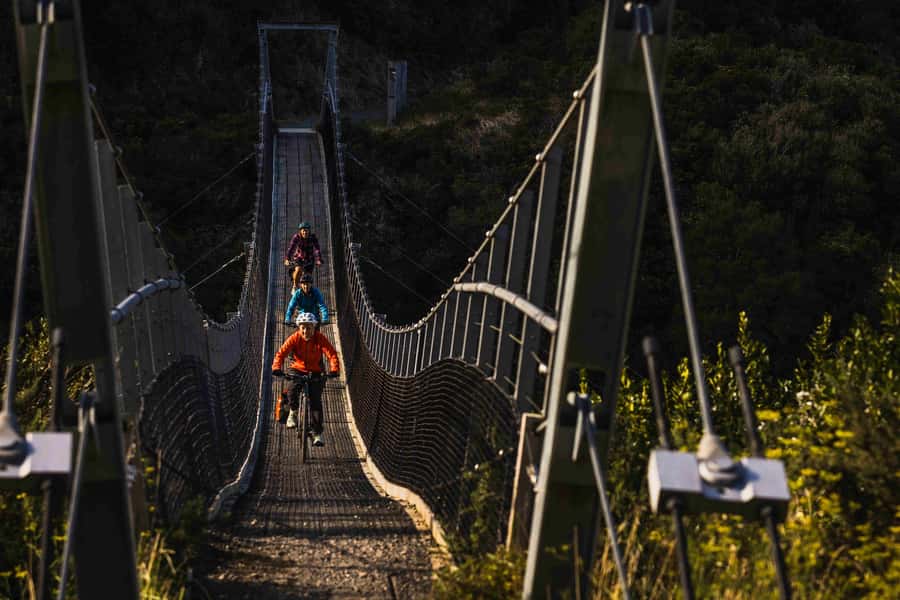
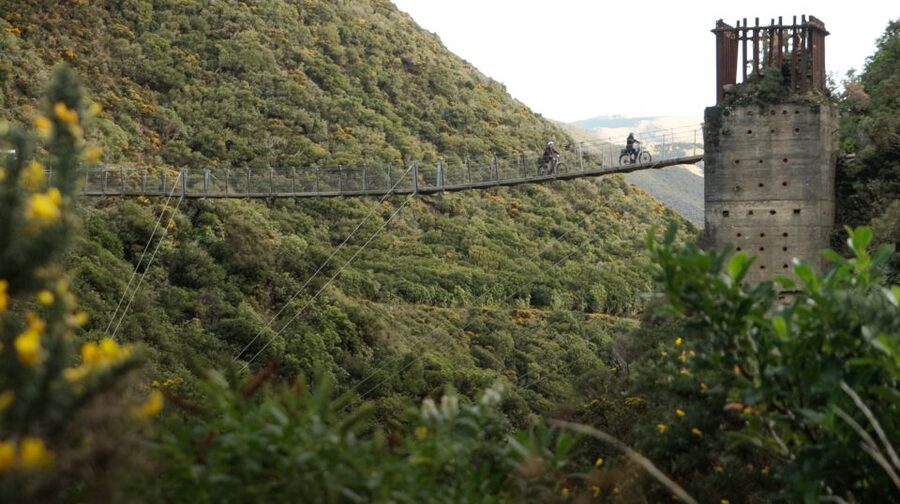
After that, the bridge moments start landing in your memory. The standout highlight is the swing bridge, paired with mountain views that open up as you cross. Even if you’ve seen New Zealand scenery before, the combination here feels different because you’re moving across it on a historic transport route.
You’re also never just staring at views. You’re riding across them—so photos turn out better than the typical pull-over-and-snap situation.
Summit Time: The Grassy Plateau Picnic Stop
Reaching the summit is when this ride becomes a reset. You arrive at a large grassy plateau that’s perfect for a picnic or a cold drink. This isn’t just a snack break; it’s a true change of pace.
Your lunch is packed and provided, along with water. If you’re thinking about dietary needs, there’s evidence it can be accommodated (including vegan and dairy-free lunch options), as long as you’ve planned for it when you book.
Why this stop works: it gives you a mental marker halfway to “okay, we’ve done the hard-feeling bits.” From here, you start the fun descent with the downhill portion described as easily controllable.
The Descent to Cross Creek: Fun, Controlled, and Scenic Farmland
After the summit, you head down toward Cross Creek in the Wairarapa. This section is described as fun, but controllable, which is a very important promise if you’re not chasing speed. On an eBike, you can manage assist and braking, but you still need to stay alert and ride with smooth inputs.
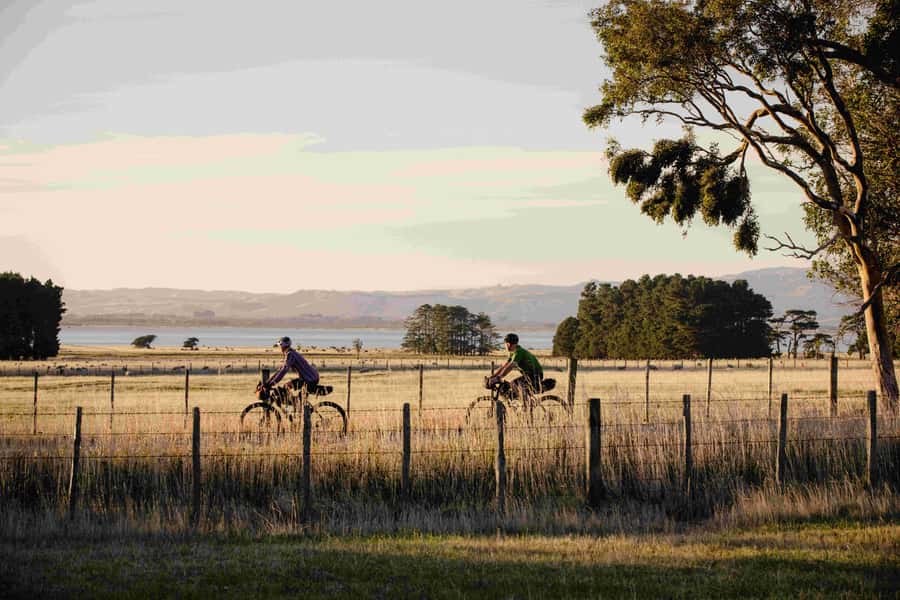
Cross Creek is the shift from “rail engineering vibes” into “rural New Zealand.” You cycle through scenery surrounded by farmland, and the feel of the ride changes again: less enclosed tunnel time, more open air and long sightlines.
It’s one of the reasons the tour stays enjoyable even if you’re not a cycling die-hard. The route keeps changing mood.
The Narrow 2km Single-Lane Track: The Part to Ride Carefully
Here’s the consideration you should actually take seriously: after Cross Creek, there’s a 2km single-lane track leading to the car park.
If you’re comfortable on bikes, you’ll probably get through it without trouble. If you’re not, or if you’re riding with close spacing or you tend to freeze when paths narrow, this is the section to slow down for.
The tour does warn you ahead of time, and the bikes are equipped for the ride, but no amount of goodwill changes the fact that narrow tracks demand calm control. Take breaks if you need them, keep a steady line, and don’t rush this part just to match someone else’s pace.
The Featherston Finish: 10km North Through Wairarapa Farms
Once you reach the car park, the route continues with a quiet road alongside a separate cycle path heading north about 10km to Featherston.
This is where the day turns into “a ride that feels like a bonus.” By now, you’ve done the dramatic stuff—tunnels, bridge, summit—so Featherston becomes the reward phase. You pass through Wairarapa farmland, with a slower, steadier feel compared to the earlier engineering-heavy sections.
When you arrive in Featherston, you’ll have time around cafes and pubs before the 2:15pm pickup. If you’re hoping to end with a drink or something food-related, plan it around your pickup time and your own energy level. People sometimes assume there’ll be a nearby option right where they land, but the real answer is: check what’s actually open when you arrive.
Price and Value: Why $131 Makes Sense Here
At $131 per person for a 6-hour experience, this isn’t just “rent an eBike and go.” You’re paying for a full day structure that includes:
- Shuttle to Kaitoke (getting you to the start without hassle)
- A fitted eBike, plus helmet and a repair kit
- Packed lunch and water
- Maps, information, and trail guidance materials
- A first aid kit and a GPS tracker
- Return shuttle from Featherston back to Wellington (Station or Port)
That mix matters. If you tried to DIY the route, you’d still need transport back and forth, a bike that’s set up for you, and a way to manage emergency support. Here, the operational load is handled for you.
And because the ride is self-guided after the briefing, you get flexibility without having to read a complex route on the fly.
What Weather Can Change (And What You Can Do)
This tour is subject to weather rules. If conditions look unsafe or totally miserable, the booking can be called off. That’s not a deal-breaker; it’s part of responsible trail operations.
For your own planning, bring common-sense rain protection and dress for hills. In colder months, you’ll likely feel the wind during open farmland sections more than you do under trees.
Also stick to the footwear rule: closed-toe shoes only. No sandals or flip-flops. It sounds strict, but it keeps your feet stable when the trail gets narrow or when you’re braking into changes of surface.
Who This Tour Suits Best (And Who Should Skip It)
This is a great fit if you want an active day without needing to be an elite cyclist. The tour is described as suitable for riders of all levels with reasonable fitness, and the eBike support is the key.
You’ll likely enjoy it most if you:
- Want rail history you can experience on the ground
- Like tunnels and bridges as photo moments
- Want a picnic stop with a proper break
- Prefer riding at your own pace after a clear start
You should skip it if you can’t ride a bike, because it’s not a walk-along experience. It’s also not suitable for mobility impairments, children under 10, visually impaired people, or pregnant women, based on the tour’s stated limitations.
Should You Book the Remutaka Rail Trail eBike Tour?
Book it if you’re after a full-on day in the Remutaka Ranges that blends engineering history with real outdoor payoff—without requiring you to grind uphill for hours. The combo of tunnel headlights, a swing bridge crossing, and a summit picnic makes it more interesting than a standard countryside ride.
Think twice if you’re nervous about tight spaces on bikes. The 2km single-lane section is the one part I’d plan for mentally. If that doesn’t scare you, and you’re okay riding at a controlled pace, you’re in the right place.
If you’re visiting Wellington and want one high-value day trip that feels both scenic and purposeful, this is a strong choice.