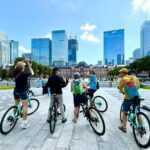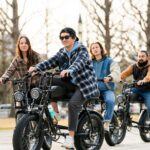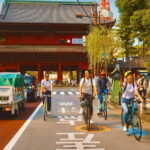
Tokyo by bike feels like skipping the usual lines. In just 3 hours you’ll cover major landmarks and quieter streets, guided with lots of practical context and good laughs. I like the top bike quality (Bianchi and Fuji models) because it makes city riding feel controlled, and I like that the guides speak fluent English and keep things moving smoothly. One thing to plan for: helmets cost extra on-site (+¥1,000 per unit), so budget a bit if you want one.
You’ll start near the Statue of Commodore Perry and glide through scenes that range from temple grounds to government buildings to Shibuya. I especially love how the tour mixes must-sees with short stops where you can actually look around on foot for a minute or two.
If you’re hoping for a super chill pedal with zero effort, go with the e-bike option. Regular bikes are a workout in Tokyo’s traffic heat, and the tour is not built for people who can’t ride.
In This Review
- Key things you’ll notice on this Tokyo bike tour
- Why a 3-hour Tokyo bike tour beats trying to do it solo
- Finding the start: Commodore Perry statue near Daimon
- Zojo-ji Temple area and Shiba Park: Tokyo’s sacred side, up close
- Imperial Palace photo moments and Ōte-mon Gate: power, symmetry, and angles
- Akasaka Palace and New National Stadium: official Tokyo and modern sport
- Minamiaoyama, Cat Street, and Miyashita Park: style streets you can actually feel
- Shibuya Crossing and the Bell of Peace finish: your Tokyo payoff
- Bikes, e-bikes, and pacing: how the tour handles different fitness levels
- Guides and photos: what you gain from riding with a pro
- What’s included versus what you pay extra (and what to bring)
- Who this tour is best for (and who should skip it)
- Should you book this Tokyo bike or e-bike tour?
- FAQ
- How long is the Tokyo bike or e-bike tour?
- Where do I meet the guide?
- Are helmets included, and how much do they cost?
- What bikes are available?
- What should I bring for the tour?
- Is the tour suitable for children or people with back problems?
Key things you’ll notice on this Tokyo bike tour
- Bianchi and Fuji bikes: road and cross-bike options that feel stable in traffic.
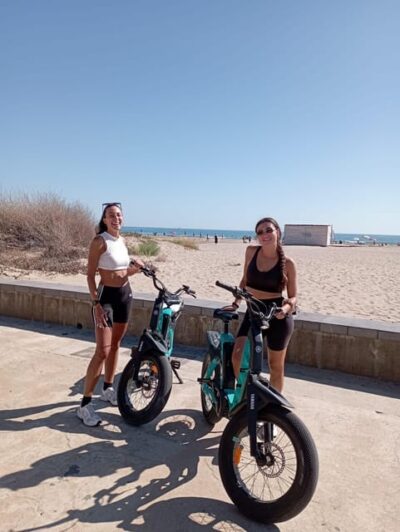
- E-bike option: ideal if you don’t cycle often or want less leg burn.
- Photo stops built in: you get frequent chances to shoot without sprinting for angles.
- A route that blends Tokyo eras: temples and palace-area spots mixed with stylish neighborhoods.
- On-bike mini pouch + insurance: phone, wallet, and keys handled without juggling.
- Small-group/private setup: easier navigation through busy crossings and viewpoints.
Why a 3-hour Tokyo bike tour beats trying to do it solo
Tokyo is big, and getting from one “I can’t miss that” place to the next can eat your day. A bike tour compresses the city into a tight loop, so you get orientation fast and you’re not constantly backtracking.
You’re also riding at street level. That matters in Tokyo, where the mood changes block by block—from formal temple grounds to quiet residential lanes to full-on Shibuya energy. Even when you’re just standing still at a viewpoint, you’ll feel how the neighborhoods connect.
Most of all, you get a guide to translate what you’re seeing. You don’t need to study beforehand to understand why something is there, what people do around it, and what to look for when you’re off the bike for short breaks.
You can also read our reviews of more tours and experiences in Tokyo.
Finding the start: Commodore Perry statue near Daimon
Meet your guide around the statue of Commodore Perry. It’s about a 3-minute walk from Daimon Station (A6 exit).
This matters because Tokyo’s station exits can be confusing at first. If you tend to overthink navigation, give yourself a little extra buffer the day of your tour and you’ll start stress-free.
Your tour time is tight, so arriving early pays off. Once you’re on the bike, you’ll move through the city in a way that feels efficient without feeling rushed.
Zojo-ji Temple area and Shiba Park: Tokyo’s sacred side, up close
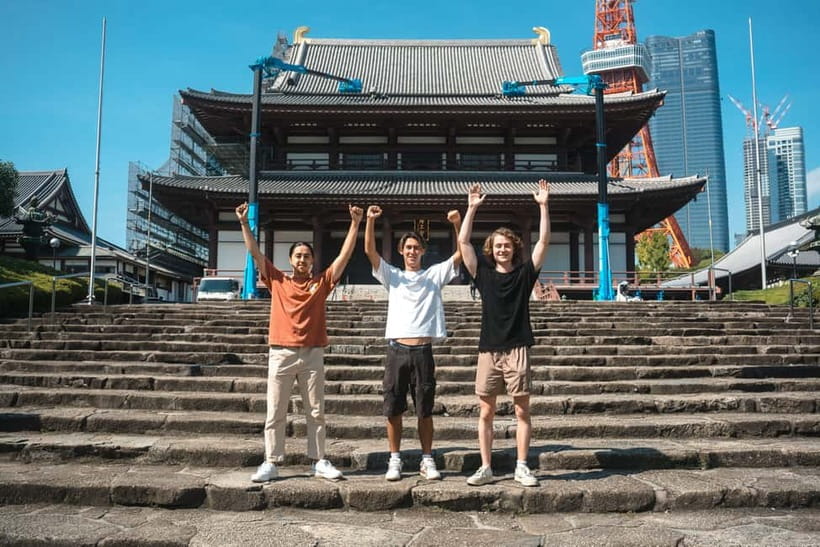
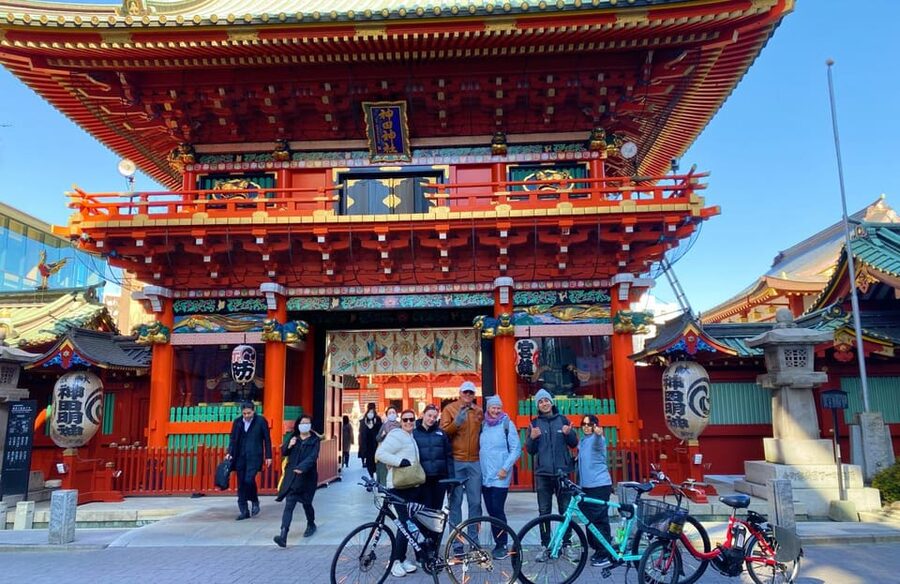
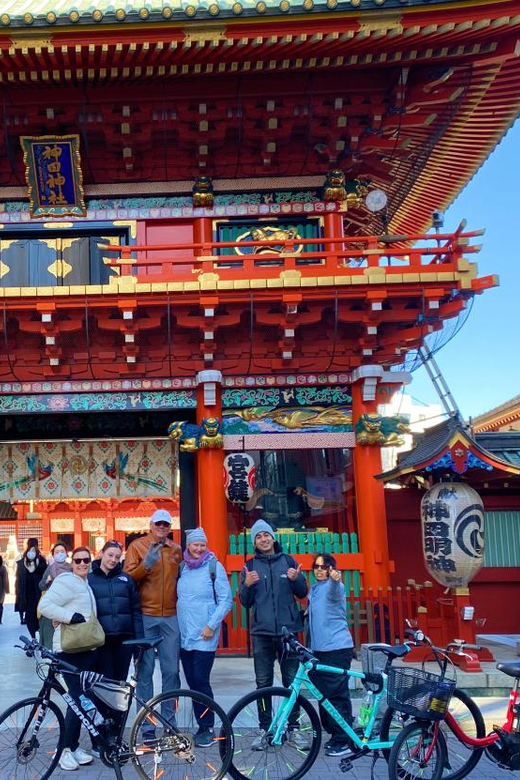
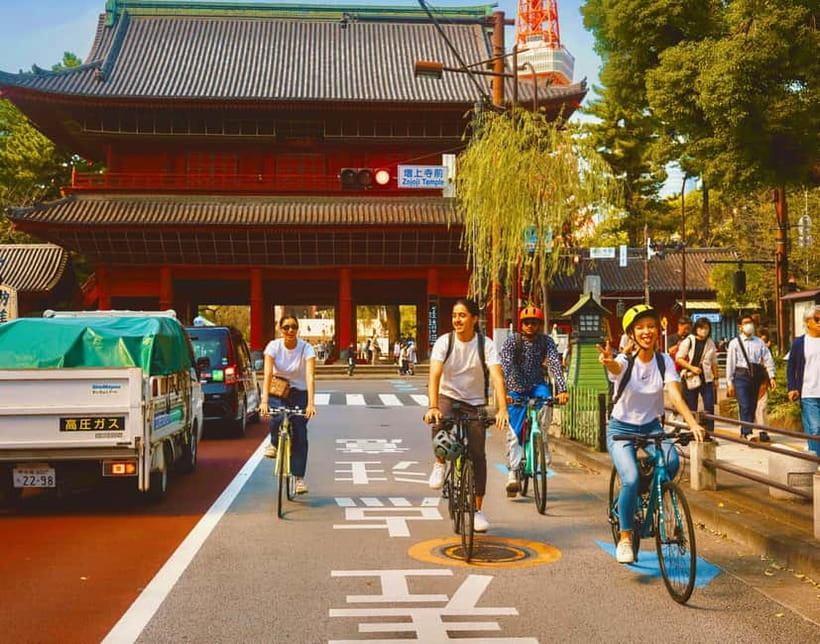
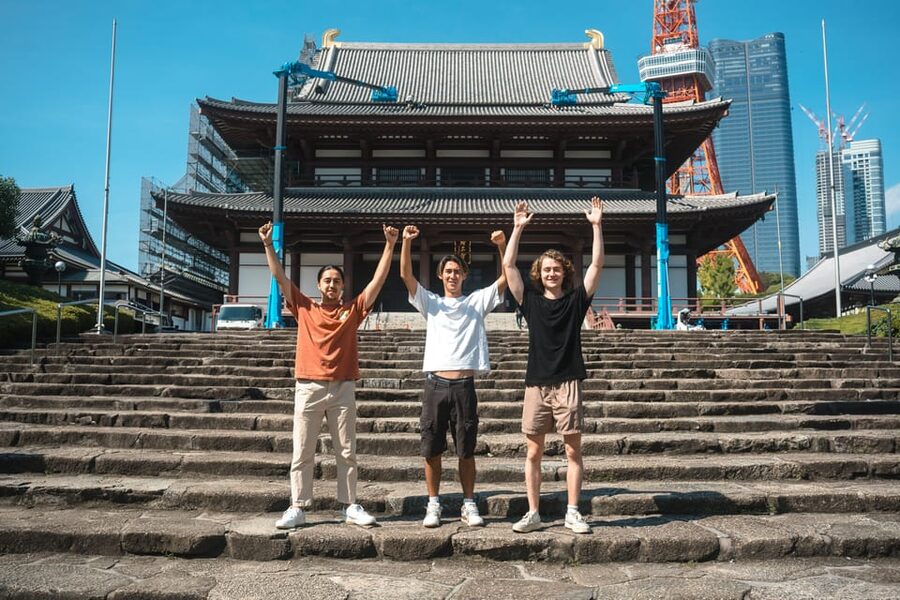
The ride begins with a stop at Zojo-ji Temple. You’ll have a photo stop plus a short guided visit (about 15 minutes), which is the right amount of time to take pictures and still understand the basics without being bored.
This part of the route is a good “tempo setter.” Temple-area Tokyo has rules, rhythms, and visual cues that are easy to miss if you’re just photographing. With a guide, you can focus on what’s meaningful—gate views, temple layout, and how the space fits into the city.
The practical bonus: you start with something easy to connect with. Even if you’re new to Japan, Zojo-ji gives you that instant feeling of place.
Potential drawback here: if you’re sensitive to stairs or crowds, remember it’s a temple stop where people come and go. It’s not described as a long walk, but you’ll still be on your feet for short bursts.
Imperial Palace photo moments and Ōte-mon Gate: power, symmetry, and angles
Next you’ll head to Tokyo Imperial Palace for a photo stop and guided context (about 10 minutes). After that comes Ōte-mon Gate with a quick photo stop (about 5 minutes).
These stops are brief on purpose. You’re not trying to tour every hallway or museum inside. Instead, the point is to help you read the palace-area landscape: the sense of formality, the layout cues, and why specific viewpoints matter.
If you like photography, this section gives you clean sightlines. You also get a guide who helps you know what you’re looking at, so your pictures end up being more than “random landmark shots.”
One thing to keep in mind: palace-area spaces can feel quieter than surrounding streets, but the roads and crossings around them can still be busy. Your guide’s job is to keep you moving safely.
Akasaka Palace and New National Stadium: official Tokyo and modern sport
Then you roll through a couple of very different settings.
First is the State Guest House Akasaka Palace for a short photo stop (about 10 minutes). After that you’ll see the New National Stadium for another photo stop (about 10 minutes).
What I like about mixing these two is the contrast. Akasaka-area Tokyo feels ceremonial and formal, while a stadium represents modern infrastructure and mass events. Even if you don’t follow Japanese football or baseball closely, you’ll understand the city’s priorities faster when you see these landmarks in one ride.
There’s also a “hidden gem” style stop built into the schedule—listed as a visit for about 15 minutes. That time is often where you break away from the obvious route and get a breather, plus a chance to walk and absorb something that’s more local than headline-tour stuff.
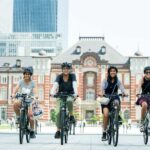
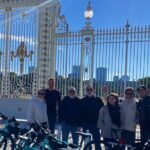
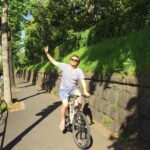
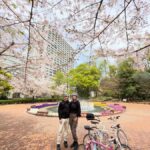
Minamiaoyama, Cat Street, and Miyashita Park: style streets you can actually feel
After the major landmark stretch, you head toward a more everyday Tokyo mood.
You’ll visit 3 Chome Minamiaoyama (about 5 minutes), then Cat Street (about 5 minutes), and then Miyashita Park (about 3 minutes). These are short visits, but that’s exactly the point on a bike tour. You’re sampling neighborhoods, not trying to turn the day into a shopping marathon.
Cat Street is the kind of street where details matter: storefront rhythm, street style vibe, and the sense of youth culture that shows up in small ways. Even if you don’t buy anything, walking for a few minutes helps you understand why people come here.
Miyashita Park gives you a quick reset and a place to look around before you hit the busiest final stretch. It’s a smart pacing tool: enough time to feel it, not enough to get dragged into a whole sidetrack.
Shibuya Crossing and the Bell of Peace finish: your Tokyo payoff
The route culminates with a Shibuya Crossing photo stop and visit (about 5 minutes), then you finish at the Bell of Peace.
Shibuya Crossing is famous for a reason, but the photo stop format keeps it fun instead of exhausting. You’re not stuck there for half an hour trying to time the perfect moment.
Finishing at the Bell of Peace also gives the tour an emotional punctuation. It’s a better ending than simply stopping near another transit hub and calling it a day.
You’ll leave with a strong loop in your head: temple Tokyo → palace Tokyo → official Tokyo → style Tokyo → Shibuya. That mental map is one of the best souvenirs you can take home.
Bikes, e-bikes, and pacing: how the tour handles different fitness levels
This is not an off-road endurance test. It’s described as safe and protective with high-quality bikes and guides that manage the ride carefully.
Here’s the practical breakdown you should plan around:
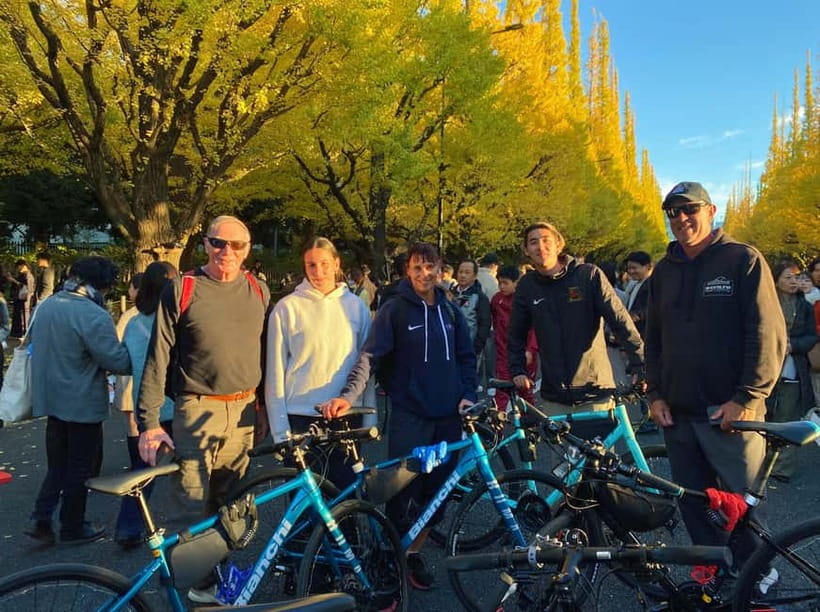
- If you want traditional pedaling, you’ll ride high-quality cross bikes (Bianchi and Fuji mentioned) and/or road-bike options.
- If you don’t cycle often or you’re worried about stamina, choose the e-bike option. The tour specifically recommends it for people who don’t cycle regularly.
Several reviews also highlight that the ride can feel like a workout session, especially if it’s hot. If you’re visiting in summer, plan hydration and don’t treat the e-bike as “cheating.” It just lets you enjoy more of the city without arriving wiped out.
Guides and photos: what you gain from riding with a pro
The tour includes an English-speaking, locally based guide (English and Japanese are listed). That guide is your translation layer for both the big sights and the short stops in between.
I like that the pace includes guided time at several points, then gives you quick freedom to look around. The stop lengths—often 3 to 15 minutes—are short enough to keep you from feeling stuck, yet long enough to actually register what you’re seeing.
Also, expect your guide to help with photos. Multiple guide names show up in feedback (like Shin, Casey, Rinto, Miguel, KG, Naoki, and marika), and the recurring theme is friendliness plus good photo help.
This matters because bike tours can be awkward for selfies while you’re maneuvering through crowds. Here, you’re not fumbling your camera as often.
What’s included versus what you pay extra (and what to bring)
The included basics are solid:
- English-speaking guide
- Bianchi and Fuji cross bikes plus an e-bike option
- Local stories and insights
- A mini pouch on the bike for phone/wallet/keys
- Bike insurance
Two costs to note:
- Helmets are not included: +¥1,000 per unit, brought in cash on-site.
- Child seats are extra (+¥3,000 per unit), though the tour is not suitable for children under 12.
What to bring:
- Comfortable shoes
- Water
- Comfortable clothes
Not allowed during the tour:
- smoking
- alcohol and drugs
- littering
If you have a backpack, you’ll likely still want the on-bike pouch. It keeps your valuables closer and reduces the “where did I put my phone” stress that can happen when you’re constantly stopping.
Who this tour is best for (and who should skip it)
This tour fits best if you want a fast, guided intro to central Tokyo with a mix of classic and modern highlights.
You’ll enjoy it most if:
- you can ride a bike comfortably
- you like a structured route with short walking moments
- you want lots of landmark context without spending the whole day in transit
The tour is specifically noted as not suitable for:
- children under 12
- pregnant women
- people with back problems
- people who can’t ride a bike
If any of these apply, it’s safer to choose a different format. A bike tour can be fun, but it’s still a moving city experience.
Should you book this Tokyo bike or e-bike tour?
Book it if you want an efficient Tokyo loop that mixes major sights with short neighborhood-style stops. For $60 for 3 hours, you’re paying for two things that are hard to replace: guided storytelling plus the practical advantage of getting across Tokyo without spending your day on trains.
I’d especially lean toward booking if:
- you’re short on time but want more than a single neighborhood
- you like photos and want help getting them
- you want a controlled way to ride through busy central streets
Skip it if you’re budget-tight on extras like helmets, or if you’re unsure about biking right now. If you’re on the fence about stamina, pick the e-bike option—it’s there for a reason.
If you do book, your best move is simple: wear comfy shoes, bring water, and arrive a few minutes early near the Commodore Perry statue. Then let the route do the work for you.
FAQ
How long is the Tokyo bike or e-bike tour?
It’s a 3-hour tour.
Where do I meet the guide?
Meet around the Statue of Commodore Perry, about a 3-minute walk from Daimon Station (A6 exit).
Are helmets included, and how much do they cost?
Helmets are not included. You can rent one on-site for +¥1,000 per unit in cash.
What bikes are available?
You’ll ride high quality cross bikes (Bianchi and Fuji), and there’s also an e-bike option if you want less effort.
What should I bring for the tour?
Bring comfortable shoes, water, and comfortable clothes.
Is the tour suitable for children or people with back problems?
No. It’s not suitable for children under 12, pregnant women, people with back problems, or anyone who can’t ride a bike.