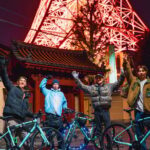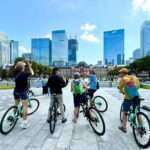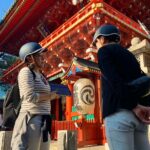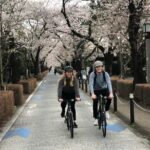
Tokyo is loud and fast. This small-group bike tour turns that energy into something you can actually explore. I like the way it mixes big-name sights like Shibuya Crossing with lesser-known streets you’d normally miss, guided by Taichi, an experienced local cyclist who keeps the ride calm and doable.
Two things really make this tour feel worth it. First, you cover a lot of ground in just 3 hours without fighting crowded trains and endless walking. Second, Taichi doesn’t just point at places—he shares local-style context and practical tips you can use after the tour.
One thing to think about: it’s real city cycling. You need to comfortably ride at a typical pace of about 15 km/h, cross at traffic lights, and handle narrow or busy spots.
In This Review
- Key things you’ll notice on this Tokyo Bike Tour
- Why Cycling Shibuya and Harajuku Beats Walking
- Getting Started at Umayamichi Park (and Why the Setup Matters)
- The Warm-Up Ride: Secret Scenic Stops Before the Main Action
- Yoyogi Park Photo Stop: A Breather Before Shibuya
- Shibuya City to Shibuya Crossing: How the Route Manages the Chaos
- Hachikō Statue and Another Secret Stop
- Harajuku and Omotesando: Short Stops, Big Sense of Place
- Aoyama and Aoyama Cemetery: Longer Pauses Worth the Time
- Meiji Jingu Gaien Ginkgo Avenue and Japan National Stadium Photos
- The Ride Comfort and Pace: What You Need to Be Ready For
- Traffic Rules, No Headphones, and Other Small Things That Matter
- Who This Tour Fits Best (and Who Should Skip It)
- What You Really Get for $63
- Should You Book the Tokyo Bike Tour Through Shibuya, Harajuku, and Backstreets?
- FAQ
- Where does the tour meet?
- How long is the Tokyo Bike Tour?
- Is the tour only for advanced cyclists?
- What’s included in the price?
- What language is the guide?
- What should I bring, and what’s not allowed?
Key things you’ll notice on this Tokyo Bike Tour
- Small group, max 6: easier pacing and more time for questions from Taichi
- Bicycle + helmet included: you show up and ride, no extra gear hunting
- Park-to-neon route: Yoyogi Park to Shibuya Crossing, then quiet backstreets again
- Photo stops that feel timed: Hachikō statue, Shibuya Crossing, and several scenic viewpoints
- Off-the-main-road segments: secret stops that cut down the time you’d lose walking
Why Cycling Shibuya and Harajuku Beats Walking
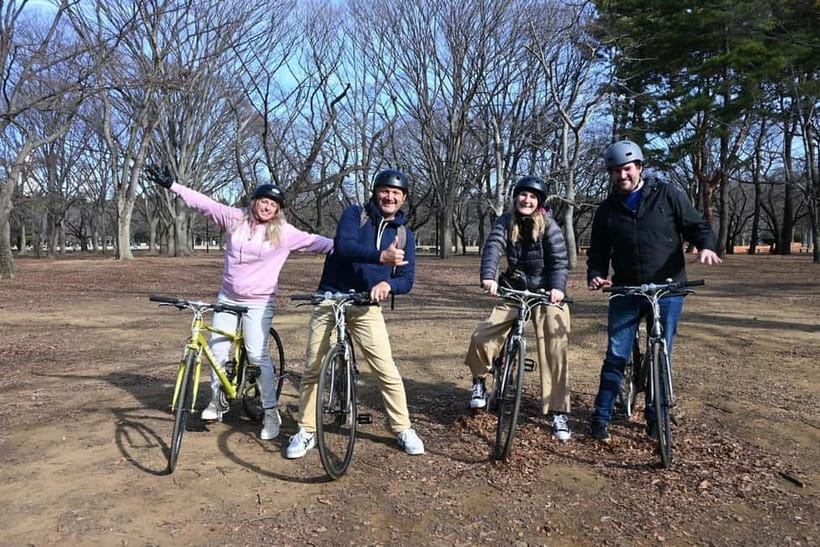
Tokyo’s neighborhoods look close on a map, but in real life they chew up time. Side streets, crowds, and long pedestrian detours can turn a short sightseeing plan into a half-day slog.
On this tour, you switch to wheels. You’ll get the flow of the city while moving fast enough to cover Shibuya, Harajuku, Aoyama, and Gaien without using public transport. The route also keeps changing textures: parks, major intersections, then quieter lanes again.
This is the kind of plan that works especially well when it’s your first trip. You get the famous stuff, but you also get the smaller streets and viewpoints that help you understand how the city fits together.
You can also read our reviews of more tours and experiences in Tokyo.

Getting Started at Umayamichi Park (and Why the Setup Matters)
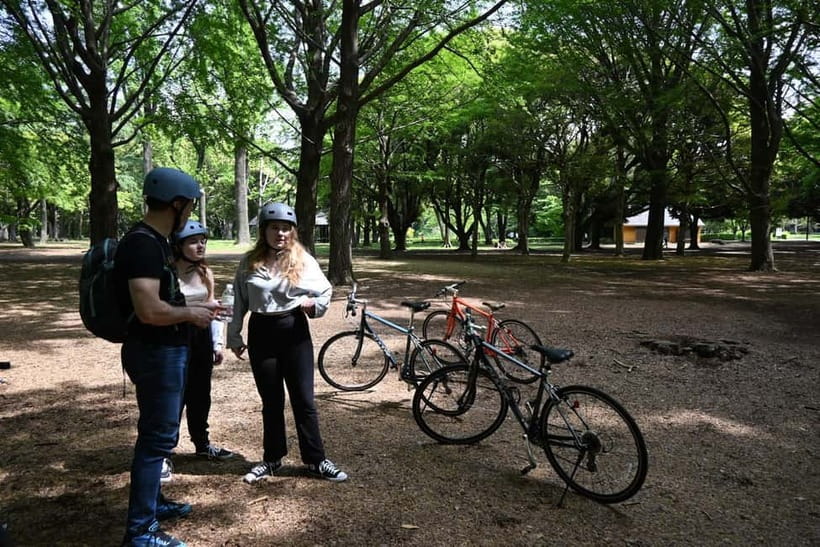
The tour begins at Umayamichi Park, with a short 5-minute safety briefing before you roll out. That briefing is worth paying attention to, because Tokyo traffic rules for bikes are not always what you expect if you learned on a different country’s roads.
You’ll also get your bicycle and helmet here, and you’re riding in a small group (up to 6). That combination matters. With fewer people, your guide can adjust your spacing, slow down for crossings, and keep everyone moving smoothly.
If you’re bringing your own instincts from other cities, this is where you recalibrate. The guide’s job is to keep the ride safe and comfortable, and it starts with understanding what you’ll be doing over the next three hours.
The Warm-Up Ride: Secret Scenic Stops Before the Main Action
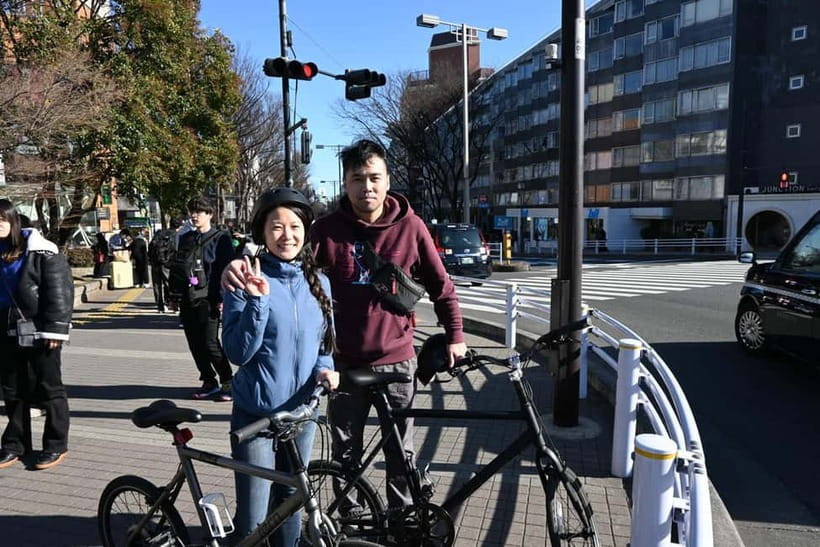
Right after the safety briefing, you’ll head to a secret stop for scenic views on the way. It’s a short moment—only about 5 minutes—but it sets the tone.
You’re not stuck in one straight line of sightseeing. The “secret stop” format keeps you looking out instead of just waiting for the next landmark. You start noticing the city layout faster because you’re moving through smaller streets rather than only viewing Tokyo from sidewalks.
It’s also a good confidence builder. By the time you reach bigger areas, your legs and breathing have already settled into the ride rhythm.
Yoyogi Park Photo Stop: A Breather Before Shibuya
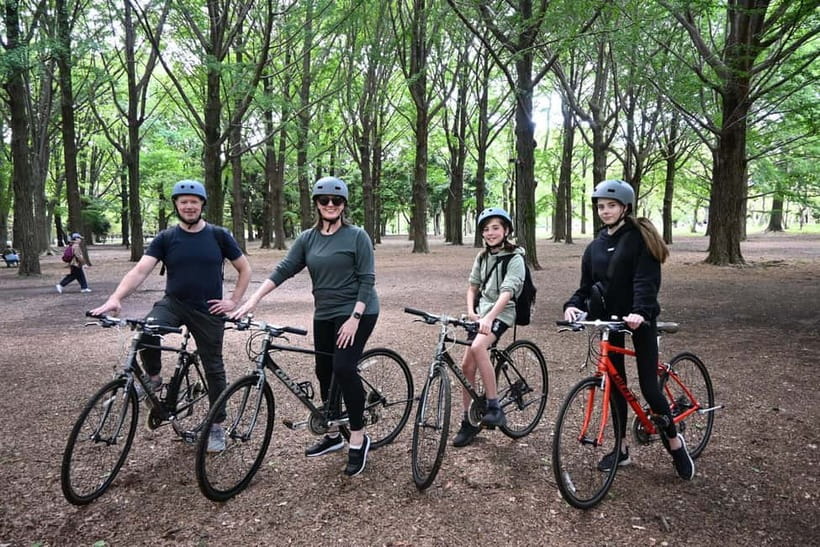
Next up is Yoyogi Park. Expect another photo stop, scenic views while you’re rolling, and about 15 minutes here.
This part works because it breaks the pattern. Even though you’re cycling, you’re still dealing with traffic, intersections, and crowds nearby. A park area gives you a different pace, and it helps you reset before you hit Shibuya’s energy.
If you like photos, this is one of those sections where you can slow down, take in the surroundings, and get a couple of clean shots before the dense sightseeing begins. If you don’t care much about photos, it still helps to have a calmer segment in the middle of a fast-moving tour.
Shibuya City to Shibuya Crossing: How the Route Manages the Chaos
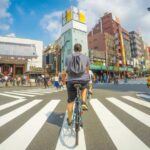
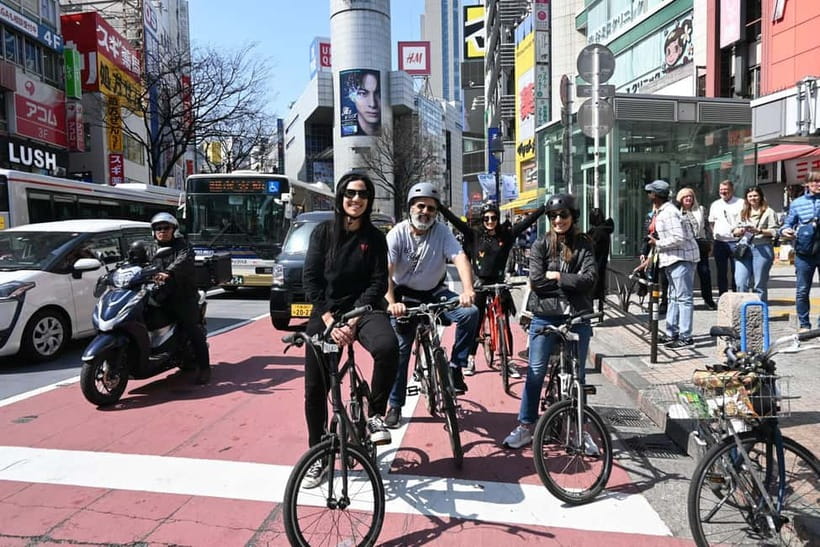
After Yoyogi Park, you’ll ride through Shibuya City with scenic views along the way for around 15 minutes. Then comes the star of the show: Shibuya Crossing.
You’ll have a photo stop plus a guided tour and walk time, with scenic views on the way, totaling about 10 minutes. This is long enough to enjoy it without feeling rushed, especially if the guide times crossings and keeps your group together.
Here’s why cycling helps at Shibuya: you get there under your own schedule. Instead of trying to synchronize yourself with the crowd flow on foot, you arrive as part of a guided rhythm, and you’re not spending precious time weaving through bottlenecks.
You’ll also see a bit more than the intersection itself because you’ll cycle the approach and the exit with the guide pointing out details as you move.
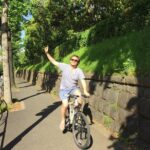
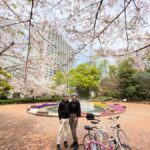
Hachikō Statue and Another Secret Stop
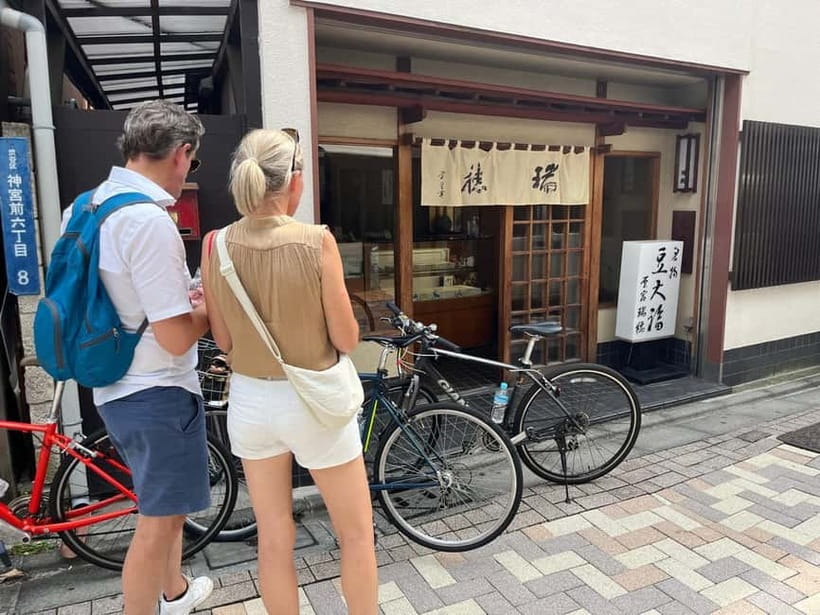
After Shibuya Crossing, you’ll hit another secret stop for about 10 minutes of photo, guided tour, and walking with scenic views. This is the tour’s pattern: famous moment, then a quieter detour.
Then you’ll go to the Hachikō Statue for a photo stop plus guided tour and walking time of about 10 minutes.
This is one of the easiest stops to love on this route. It’s iconic, it’s built for photos, and it fits well inside a cycling itinerary because you’re not losing time to long transit.
The key is how Taichi handles the group. In tight areas, he keeps people moving safely and at a pace that doesn’t turn sightseeing into sprinting. That comes through in how riders describe him as patient and confident in traffic.
Harajuku and Omotesando: Short Stops, Big Sense of Place
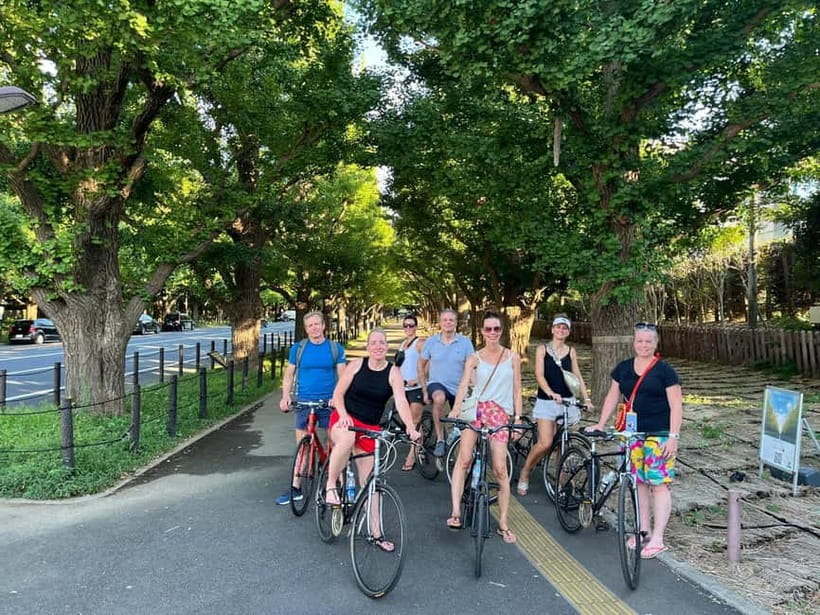
From Hachikō, you’ll head into Harajuku for a photo stop and scenic views on the way (about 5 minutes). After that, you’ll pass another secret stop with a 5-minute photo stop and scenic views.
Then you roll into Omotesando for another 5-minute photo stop. These are quick moments on purpose. The tour is designed to keep momentum, so you’re not stuck in a long, one-place-only waiting game.
If you’re the type who likes to people-watch and catch the vibe, these short stops work. You get a taste of different streets and atmospheres without spending your whole three hours on one block.
Aoyama and Aoyama Cemetery: Longer Pauses Worth the Time
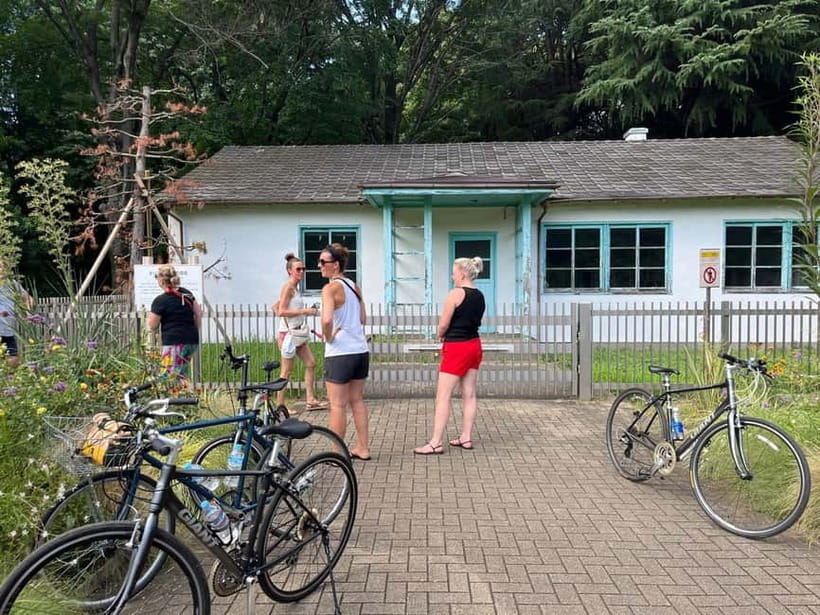
Then the pace shifts again. You’ll spend about 20 minutes in Aoyama with a photo stop and scenic views while riding.
After that comes one of the more interesting segments: Aoyama Cemetery. Plan around 20 minutes here with a photo stop, plus guided tour and walking time.
This stop feels different from the usual Tokyo sightseeing pattern. It’s quieter, and it gives you a break from the “look, photo, next” cycle that can happen elsewhere. Even if you’re not there for cemeteries specifically, it helps you see Tokyo as more than fashion streets and landmarks.
Also, because the tour isn’t only about architecture or neon, your guide’s context matters here. Taichi adds perspective that turns a routine photo stop into something more meaningful.
Meiji Jingu Gaien Ginkgo Avenue and Japan National Stadium Photos
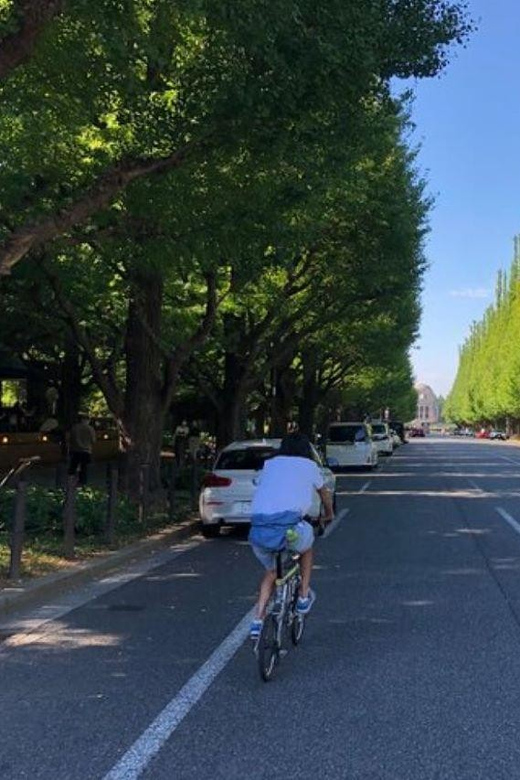
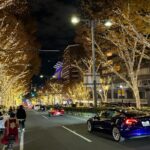
Next is Meiji Jingu Gaien Ginkgo Avenue for a photo stop and scenic views on the way (about 5 minutes). Then you’ll reach Japan National Stadium for a quick 5-minute photo stop.
These final stops are fast, but they’re placed well. By the time you get here, you’ve already done Shibuya and Harajuku, so you’re not starting your trip with only sightseeing “targets.” You’ve built momentum and confidence on the bike, and now it’s about collecting a few strong final images.
This is also a practical design choice. You finish these points, then roll back to the start area without running your legs into fatigue near the end.
The Ride Comfort and Pace: What You Need to Be Ready For
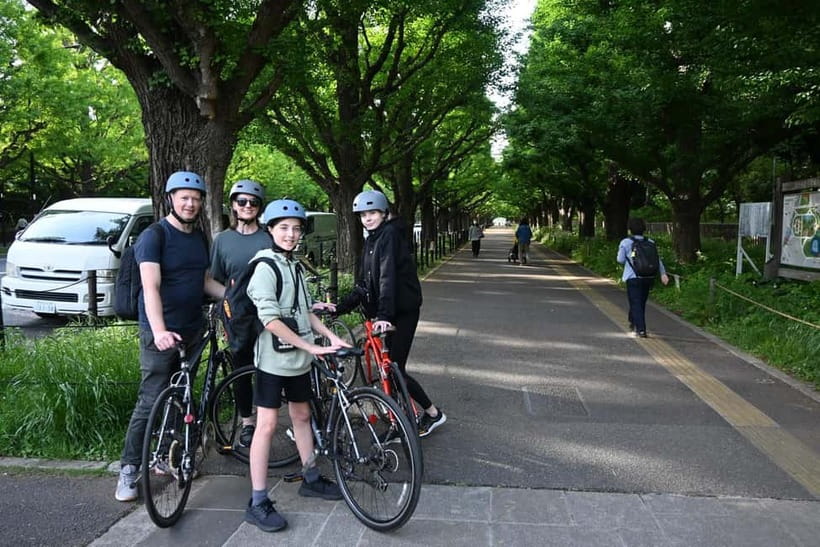
This tour expects you to cycle at about 15 km/h (9.3 mph) at a typical pace. You should feel comfortable riding on city streets and crossing at traffic lights, plus navigating through occasional narrow or crowded areas.
There’s also light rain handling. The tour goes forward in light rain, but it can be canceled if weather changes suddenly for safety. That’s the right call in a city where slick roads can make braking and turning trickier.
The guide’s role is key here. Taichi uses an experienced-cyclist approach to keep the group safe and moving, and riders highlight how well he steers through traffic and handles the pace.
One more comfort note: you’re required to wear closed-toe shoes, and no sandals or flip-flops. Since it’s a road-cycling style experience, your feet and ankles need to be stable when you stop and start.
Traffic Rules, No Headphones, and Other Small Things That Matter
Tokyo cycling isn’t just about speed. It’s about rules and awareness. The tour explicitly asks you to follow Japanese traffic rules and the guide’s instructions.
A few details can help you avoid an awkward start:
- Bring drinks and dress in comfortable clothes
- No headphones (you need to hear instructions and traffic cues)
- No umbrellas (plan around weather instead)
- Don’t bring oversize luggage or large bags
- No smoking, vaping, alcohol, or drugs
If you’ve ever shown up with a big bag that ruins your movement, you’ll appreciate this tour being strict. Less chaos for the group.
Also, the guide will answer questions. If something about the ride feels unclear before you roll out, ask early. That’s the easiest time to fix confusion.
Who This Tour Fits Best (and Who Should Skip It)
This tour is not suitable for:
- children under 13
- people who can’t ride a bike
- pregnant women
- riders under 155 cm or over 200 cm
- people over 75
It’s also a good match for first-time Tokyo visitors who want structure. In just 3 hours, you get a tour route that covers multiple neighborhoods and includes both iconic and quieter stops.
If you’re nervous about cycling in traffic, be honest before you start. In one recent case, two people in a group weren’t comfortable riding and switched to a walking format that still worked well, with the guide handling the plan. That’s a sign the operator takes comfort seriously.
What You Really Get for $63
At $63 per person for 3 hours, this isn’t a “cheap but messy” deal. You’re paying for a working system: bikes, helmets, guide time, and the logistics of moving through Shibuya safely as a small unit.
The value shows up in two ways:
- Time efficiency: walking the same stops would take longer, especially with Tokyo’s crowd patterns and the distance between neighborhoods.
- Local guidance: Taichi shares context beyond the usual checklist. Riders point out his friendly, patient style and his ability to communicate in English, which makes a big difference when you’re trying to understand what you’re seeing.
This is also a good price point for a first trip because it reduces guesswork. You don’t have to plan every turn in advance, and you get a “map in your mind” after the ride.
Should You Book the Tokyo Bike Tour Through Shibuya, Harajuku, and Backstreets?
Book it if you want a first-time Tokyo plan that feels active but controlled. You’ll get big landmarks like Shibuya Crossing and the Hachikō Statue, then you’ll weave through parks and off-main-street sections that help the city click in a way photos alone can’t.
Skip it if cycling in traffic would stress you out. The tour asks for confidence at a steady pace, and it expects you to follow instructions closely. If you’re unsure about riding, it’s better to choose a walking-focused day instead.
If you do book, come prepared: closed-toe shoes, comfortable clothes, drinks, and a willingness to ride at about 15 km/h. Then you’ll leave with something rare in Tokyo—less confusion and more real familiarity with how these neighborhoods connect.
FAQ
Where does the tour meet?
The meeting point is the park next to Freshness Burger.
How long is the Tokyo Bike Tour?
The tour lasts about 3 hours.
Is the tour only for advanced cyclists?
You should be comfortable riding a bike in the city and be able to maintain a typical pace of about 15 km/h. You’ll also be crossing at traffic lights and riding through narrow or crowded areas.
What’s included in the price?
Bicycle and helmet are included.
What language is the guide?
The live tour guide speaks English.
What should I bring, and what’s not allowed?
Bring comfortable shoes and clothes plus drinks. The tour does not allow sandals or flip-flops, weapons or sharp objects, oversize luggage or large bags, smoking or vaping, umbrellas, alcohol or drugs, littering, headphones, or open-toed shoes.